
If you’re reading this blog, there’s a good chance you’ve given a presentation before. There’s also a good chance you’ve been on the receiving end of a presentation. Presentations are effective ways to teach, sell, and share ideas—the list is endless. Not all presentations are good, though—and when you’re in the midst of a bad one, it’s easy to tell.
With the right tools and dedicated time for editing, revising, and practicing, a multimedia presentation has the potential to take the topic at hand to new heights.
Let’s find out how.
{{< blog/cta-2 “Vibe Boards for multimedia presentation” “https://vibe.us/products/vibe-smartboard-55/” >}}
What is a Multimedia Presentation?
Much like the name suggests, a multimedia presentation is a presentation featuring multiple (multi) types of media. A few examples of media types include videos, GIFs, animations, audio, or photos.
At first reference, you might automatically equate a multimedia presentation with a PowerPoint. While PowerPoint is a valuable tool for creating a multimedia presentation, not all PowerPoints are multimedia presentations.
A multimedia presentation is effective because it uses different types of media to engage an audience and ultimately communicate. Whether it’s a lesson, a pitch, a complex idea, or even a data set, multimedia presentations are an effective way to capture and maintain the attention of your target audience.
Multimedia Presentations: 3 Common Examples
In order to deliver an effective multimedia presentation, it’s important to consider what you’re trying to convey and which media type and format works best.
Here are three of the most common examples of multimedia presentations and how they can be used.
Example 1: Video

Video is a captivating way to transform information. Using video in a presentation can add context to an idea or even bring a theory to life through a visual example.
Adding video can also be effective in any education setting where a teacher or professor is seeking to increase in-class engagement. In fact, according to a study published in Innovations in Pharmacy, students reported higher in-class attention levels when a multimedia presentation was used for a class lecture rather than a traditional “chalk and talk” lecture.
Incorporating multimedia presentations into the classroom doesn’t just improve class engagement—it also gives students the opportunity to learn in whichever style works best for them.
The same goes for professional presentations. Videos can keep your audience attentive, boost retention, and make your points crystal clear. That’s because videos disrupt the monotonous structure of a typical meeting, which so often lead to disengagement and lack of attention.
Example 2: Animations and GIFs

In a new era of remote pitches and virtual demos, sales teams that once relied on a team, an oral presentation, and a basic slide deck have to get creative.
Presentation videos are one way that sales teams across industries are reshaping the traditional pitch. A great way to get creative with presentation videos is by adding in animations or GIFs to help articulate your key points.
A well-placed animation or GIF can create a natural pause in your presentation for quick reflection or needed break. It can also make your pitch more personable—and persuasive. If you’re presenting with a slide deck that includes other forms of media, an animation can help bring greater clarity to a complex process and break down complicated concepts.
Example 3: Graphs and Charts

Massive amounts of data can be incredibly helpful when solving a complex problem. It can also be difficult to present effectively.
For example, you might be able to identify a particular pattern or trend in a data set from first glance. However, your audience may not share your skillset and feel confused or overwhelmed by large data sets in your presentation.
Data visualization is important because it makes data easier to understand and pull insights from. Data visualization tools take existing data and organize it into graphs, charts, or other visual tools.
Multimedia presentations can help data visualization come to life. You can incorporate interactive graphs, tables, charts, and maps into your presentation to get everyone on the same page. Or take it a step further and add animations to these visualizations to emphasize important data points.
Essential Tools for Multimedia Presentation Building
There are lots of different tools you can use to design your multimedia presentation and even create new media. While many tools are similar, it’s important to note that some are more advanced than others. Make sure you know your skill limitations ahead of time and select only the tools you feel comfortable using.
Here are four of the most important tools for building a multimedia presentation.
PowerPoint, Google Slides, Keynote

All three of these tools are the gold standard for creating a slide-deck style multimedia presentation. Similar in design and features, the differences between these three programs are subtle, and the only reason to use one over the other would be based on what you have access to.
One of the biggest benefits of using any of these three programs is that they’re all easy to use. If you’re a beginner, you can select from a variety of pre-made templates and drag and drop your media directly into your slides.
As a bonus, these three programs also have some animation features, allowing you to animate objects on a slide or add in some seamless transitions between slides. These programs are all also easy to export and share, so your audience can review your presentation whenever they need a refresher.
Adobe Creative Cloud
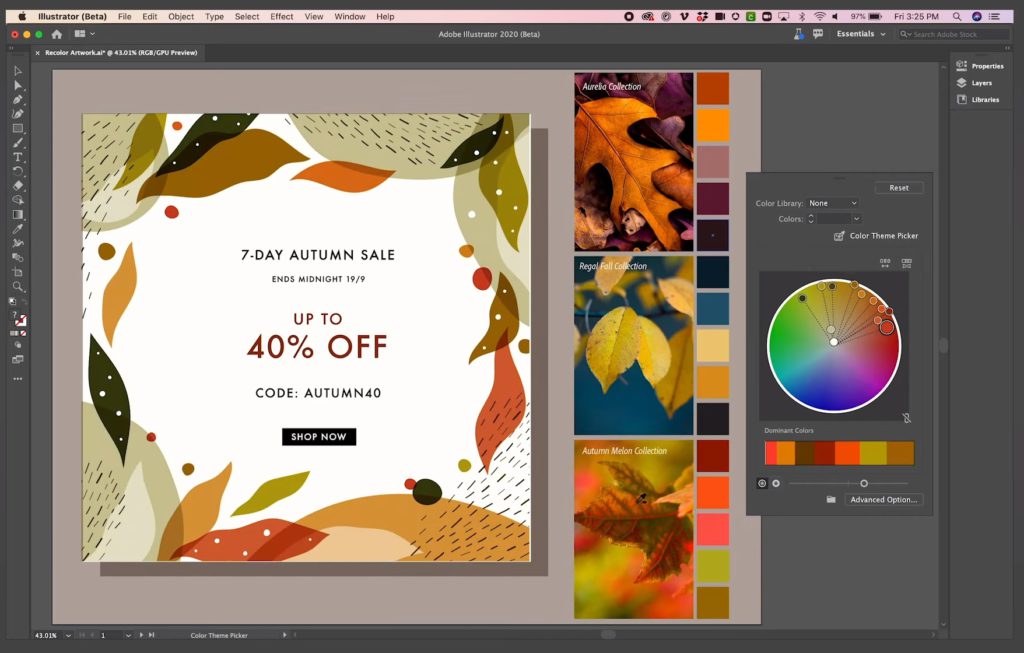
Adobe Creative Cloud is more advanced and could require some additional knowledge or training. The biggest benefit of Adobe Creative Cloud is that all of the different products can be used interchangeably. For example, if you’re working on a video presentation in Adobe Premiere, you can seamlessly import an animation or motion graphic you created in Adobe After Effects directly into your video project file.
Canva
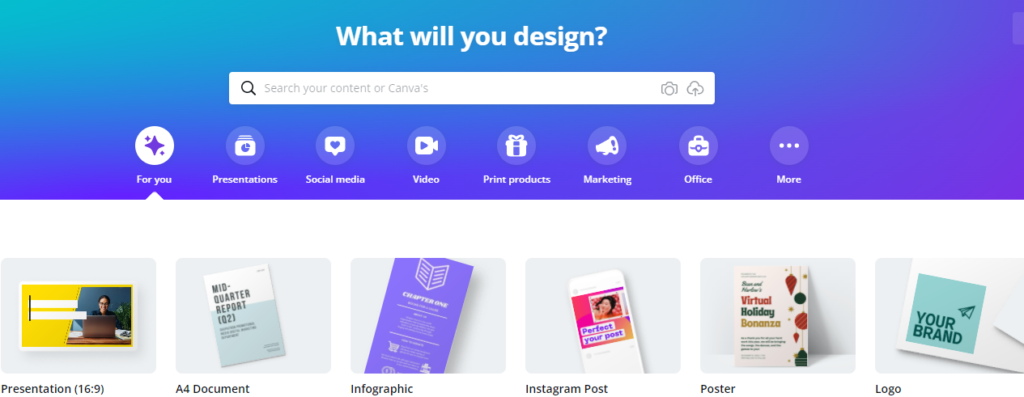
Canva is a multi-use tool that combines the features of PowerPoint and a variety of Adobe Creative Cloud products. It’s designed for beginner to intermediate users, also offering pre-made templates. As a bonus, many of their plans are low-cost, and there’s a free option that anyone can use.
Canva features include everything from slide-deck style presentation templates to video presentations, standalone videos, and even some basic data visualization.
Data Visualization

While many of the tools above have some sort of basic data visualization functionality, there are tools out there specially designed for more advanced applications and audiences.
Tableau, for example, is one of the most advanced data visualization tools often used by data scientists and statisticians. Power BI is another similar tool that tends to be lower cost for most users and integrates with other Microsoft products.
Both tools have similar features and provide a variety of visualization options, so you can present data in a way that allows your audience to analyze effectively or clearly see important insights.
5 Steps for Creating a Multimedia Presentation
Overall, creating a multimedia presentation is similar to planning and designing any other type of presentation.
Here are five steps to crafting a multimedia presentation:
- Frame your story.
- Create an outline.
- Choose your tools.
- Start building and add media.
- Revise and edit.
Let’s dig into these steps a bit more.
Step 1: Frame Your Story
In this Harvard Business Review article—which breaks down the process of developing a TED Talk—writer and TED curator Chris Anderson suggests starting with framing.
There’s no way you can give a good talk unless you have something worth talking about. Conceptualizing and framing what you want to say is the most vital part of the preparation.
Anderson
Planning out your journey is exactly where Anderson suggests the first part of any presentation planning should begin. Why? Because it forces you, the presenter, to think critically about who your audience is and what level of knowledge they may or may not have regarding your topic.
Anderson’s other piece of advice on framing your story is to limit your scope. While you might have a ton of information you want to share, it’s important to narrow down your topic to only the things that can be explained, with particular attention to the things that can be explained and reinforced with different types of media.
Step 2: Create an Outline
Once you have your concept and a rough idea of your journey in mind, it’s time to organize it into an outline. Think of your outline as a way to break down your topic into smaller, digestible pieces. Eventually, these smaller chunks will become the content for each of your presentation slides if you’re doing a slide-deck style presentation. If you’re not doing a slide presentation, these small pieces could also work well into a video storyboard.
Once your outline is finished, it’s time to go back and make note of any items that would benefit from additional media.
Here are a few examples of things to consider:
- Do you have large amounts of numbers you can visualize with an animated graphic?
- Is there a picture you can display to bring context to something you’re talking about?
- Do you have access to videos that show a theory or concept you’re talking about?
- Are there any product videos available that show your product in use?
These are only a few examples of areas where different types of media can help reinforce your point or act as engagement pieces if you’re in a more collaborative presentation setting.
Step 3: Choose Your Tools
Selecting the correct tools can make presentation building easier and help you plan out the different forms of media you’ll include.
As with all tools, be sure you’re familiar with the program you’re working with before you get started. If you’re not familiar with the program, check to see if you can find any resources to get up to speed on the basics, or reach out to a colleague or teammate to get assistance.
Step 4: Start Building and Add Media
Now that you have your outline and you’ve selected the tools you’re going to use to build your multimedia presentation, it’s time to get started!
Use your outline to guide the creation of your multimedia presentation. For example, if you’re going to create a slide deck style presentation, begin populating your slides with necessary headers to guide your presentation from one section to the next.
It might be helpful to sketch out the design of your slide layout and create boxes or placeholders where you’d like to add media. Once you’re finished, go back and add the different types of media to your slides.
Step 5: Revise and Edit
This sometimes overlooked step is often one of the most important steps in any presentation design process, not just multimedia presentation creation.
Think of it this way: Once you finish your presentation, consider it your first draft. Step away, take a day off, and then return with fresh eyes to review your original outline and ensure your transitions are effective.
As a final note, don’t forget to check for typos and grammatical errors. There’s nothing worse than being mid-presentation and realizing, or being alerted to, a silly mistake that you could have easily fixed with a bit more attention to detail.
Enhancing Your Multimedia Presentation with Vibe
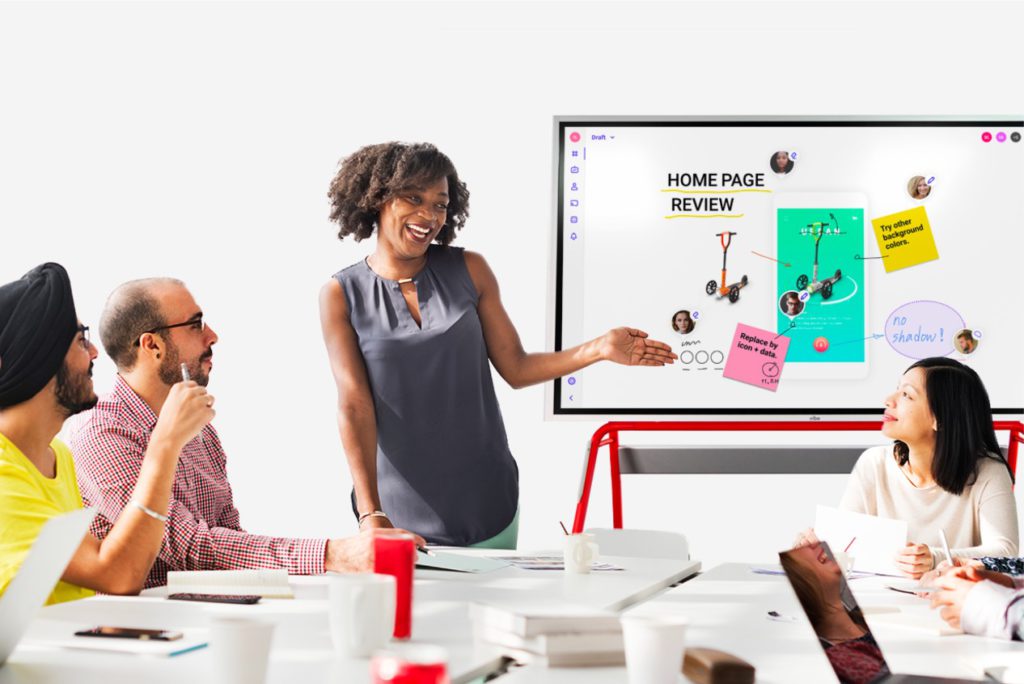
Simply put, making a multimedia presentation takes time and effort. Luckily, a Vibe Board gives you additional tools to deliver better presentations with ease.
{{< blog/cta-1 “Make a multimedia presentation with the Vibe Board” “https://vibe.us/lp/scenario-presenting/” >}}
Vibe’s laser pointer and annotation tool means you can keep participants focused on what matters. You can also add notes or drawings to your presentation in real-time.
If you’re presenting with Vibe Canvas, participants can even interact with your presentation from their personal devices. After joining the Canvas, they can highlight a point they’d like you to discuss more, provide instant feedback, or add their questions to the board for a quick Q&A session after your presentation.
You can also transition through slides and play embedded media with your finger or using the Vibe stylus.
Most importantly, you can collaborate with your participants from anywhere. Vibe is integrated with multiple video conferencing apps, which means you can present with confidence both in-person and remote.
Speaking of integration, Vibe also seamlessly integrates with more than 100 apps, like PowerPoint, Canva and more. Check out Vibe today!