With every new piece of tech equipment we invest in, the search query becomes even more inevitable: how do I take a screenshot on this? The brief click of a button, or even the sound of our voice, lets us grab any image on screen. A time-saving and versatile feature, knowing how to take a screenshot is a must for our visual world.
First, what’s a screenshot?
A screenshot is an image that captures visible content on a device’s screen. Taking a screenshot allows users to have a copy of a specific area on a screen that they can annotate, share, or save.
Why you might take a screenshot
Being able to take a simple screenshot opens the door to a multitude of benefits. Whether you use this function for work, school, travel, or your personal life, taking a screenshot is super handy. Here are some of the ways that a screenshot can help you out:
- Save an image from a web browser
- Take a picture of a digital document and add annotations
- Capture a recipe or instructions
- Remember some bullet points from a slideshow presentation
- Send an image of a computer error to your IT team
- Show others how to perform a function or where to navigate to
- Save a text message conversation
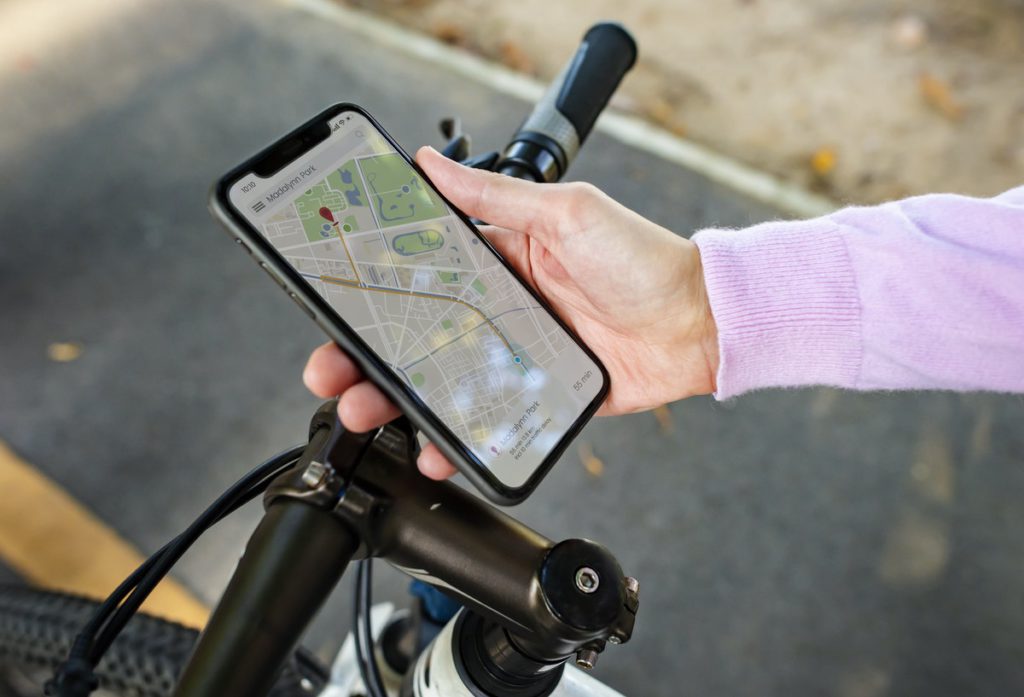
- Capture the birds-eye view of a location and route instructions from a GPS app
- Save confirmation numbers for flights and reservations for easy access
- Share contact information
Almost every device is capable of helping you for these purposes and more. Learn how you can take a screenshot on each of your devices using these simple techniques.
Take a screenshot on a laptop or desktop
There are a lot of differences between Macs and PCs. With different designs, interfaces, and buttons, it’s hard to know how to properly take a screenshot. Whether you’re a Mac or PC person, we’ve got you covered.
Step-by-step guide for Mac users
There are multiple options for Mac users to grab their desired screenshots. If your computer is running MacOS Mojave (2018) software or newer, you can access the screenshot tool by pressing Command+Shift+5 together at the same time. Or, you can try going to Launchpad > Other > Screenshot. Either choice will bring up a panel of screenshot options that will let you choose to capture the entire screen, a window, or a selection of your screen. This panel also gives you the option to capture a video recording of your screen.
For quick and easy screenshots, try the following shortcuts on your keyboard:
Capture the entire screen: Press Command+Shift+3 together at the same time and wait for a white “flash” on your screen.
For a portion of the screen: Press Command+Shift+4 to transform the cursor into a crosshair. Then, use that to select the screen area you want to capture.
Capture a window or menu on the screen: Press Command+Shift+4+Space bar until the cursor becomes a camera icon. Use this icon to click on the window or menu you want to capture.
After using any of these combinations, the screenshot will appear as a thumbnail in the corner of your screen. Click the thumbnail to edit the image or navigate to your desktop (where the file goes by default) to review the new image.

Step-by-step guide for Windows 10 users
Using the Print Screen button is the quickest way to take a screenshot in Windows 10. This button is generally found in the top-right corner of your keyboard. Think of the Print Screen button (sometimes shortened to “prt sc”) as a sibling to the commonly used copy (Ctrl+C) function.
Capture the entire screen: Press the Print Screen button, and an image of the entire screen will be copied to your clipboard. To view the capture you must then paste (Ctrl+V) the image into a word processor or editing platform such as Word, Google Docs, Paint, or Photoshop.
For a window or menu on the screen: This method gives you a screenshot of the entire screen. If you want to just capture an image of the current window you have open, without the interference of other images or browsers, press and hold Alt+Print Screen.
Capture a portion of the screen: You may be familiar with Microsoft’s Snipping Tool. This app allows you to take free-form, rectangular, window, or full-screen screenshots, with the option to delay the image capture up to 10 seconds. However, the Windows update in May 2019 welcomed a new screenshot tool called Snip & Sketch. This app has all the bells and whistles of the Snipping Tool but boasts a more user-friendly design than its predecessor.
Take a screenshot on a Chromebook
Chromebook users can use the Show Windows button to capture a screenshot. Find this button on the top-middle of the keyboard — it’s the one with an image of a box and two horizontal lines. Take a full-screen screenshot by pressing Ctrl and then the Show Windows button (Ctrl+Show Windows).
To take a screenshot of part of your screen, press Shift+Ctrl+Show Windows. Then use your cursor, which becomes crosshairs, to select and drag over the area you want to capture. If you’re using a standard keyboard with your Chromebook, you won’t have the Show Windows button. Instead, you can press Ctrl+F5 to take a screenshot.
Any of these methods will result in a notification at the bottom-right corner of the screen. All screenshots are automatically saved to the computer’s downloads folder, where you can then permanently save them to Google Photos.

Take a screenshot on a phone or tablet
Tablets are pretty much an oversized smartphone. Functions and size vary, but their designs are generally the same. Both Apple and Android users will notice that taking a screenshot on their phone or tablet is a similar process.
Step-by-step guide for iPhone or iPad users
Though iPhone and iPad models may differ in appearance, the concept of screen capturing remains pretty much the same — it only involves two buttons. Older iPhone and iPad models that feature a home button can capture a screenshot by briefly pressing the home button and the sleep/wake button and the same time. (The sleep/wake button can be found on the right side or top of the device, depending on the model). This action will be followed by a flash on the screen and a camera shutter sound (if your sound is on).
Newer iPhone and iPad models (iPhone X, 11, 12, and the latest iPad Pro and iPad Air devices) no longer have the home button. Instead, users can briefly press the sleep/wake button and the volume up button at the same time. If you use an Apple Pencil with your iPad, you can take a screenshot by using the tool to swipe up from the bottom corner of the screen.
How to find and edit screenshots on an iPhone or iPad:
All models running iOS 11 or later will find that the image immediately appears in the bottom left corner of the screen. This gives you easy access to crop and annotate the image. You’ll also find your screen capture in the Photos application in both the camera roll and screenshots albums. Here, you can also markup the image. Choose the photo you want to markup, select “Edit,” select the circle icon with three dots at the top of the screen, then select “Markup.” Now you can write or draw whatever you’d like. (Remember to save your work!)
Step-by-step guide for Android phone or tablet users
Because there are multiple Android device manufacturers (e.g., Google, Motorola, Samsung, TCL, etc.), taking a screenshot on an Android phone or tablet may vary slightly.
On most newer devices, you can capture an image by briefly pressing the power and volume down buttons at the same time. If your device has a home button, you can also try pressing the home and volume down buttons. Alternatively, some Android devices also feature a screenshot button in the Quick Settings menu. Should you encounter issues, you can always consult your manufacturer’s support site for help.
Helpful screenshot features for Android users:
There are also a few other ways to take a screenshot on an Android without pressing a physical button. If your device has a voice assistant like Google Assistant or Samsung’s Bixby, you can ask the assistant to take a screenshot for you.
If you have a Samsung device, swipe the edge of your hand across the screen to grab an image. Turn this setting on by visiting Settings > Advanced Features > Palm swipe to capture. Samsung users can use the S Pen stylus to take screenshots via the Air Command menu by selecting “Screen Write” and then editing the image to their liking.

How to take a screenshot on Vibe
There’s no need to memorize key combinations to take a screenshot on a Vibe Board. Simply click the pencil icon in the bottom right corner of the screen, then select the cropping tool on the bottom middle of the screen. Once you choose the area you want to capture, a menu will appear in the bottom right corner that allows you to select where you’d like to save the screenshot.
If you want to take a screenshot while in a browser, use the pencil icon found in the upper right corner of the screen to go into screenshot and annotation mode. A purple band will appear around the screen that you can adjust to capture the specific area you want. You can then save the image to the canvas by selecting the canvas icon on the right side menu. For extra screenshot and annotation help, check out the complete guide to annotation on the Vibe Board.
There is so much to love about our devices and their many capabilities — like taking a screenshot. Vibe gives users even more to love with its seamless app integrations, innovative software, and overall versatility. Explore the many features and perks that digital whiteboarding can offer your team.
Vibe offers a collaborative solution combining an interactive digital whiteboard and innovative smart software. Increase engagement and efficiency at your brainstorming sessions, virtual training, and classroom sessions by integrating your favorite applications with video conferencing and an infinite, mess-free writing canvas. Collaborate today with Vibe.
Looking for the latest in interactive whiteboard technology? Check out Vibe today!
